THIS IS NOT MY WRITE UP. I simply saved this for other people so DON'T contact me about the tools.
You will need the following parts/supplies as a minimum:
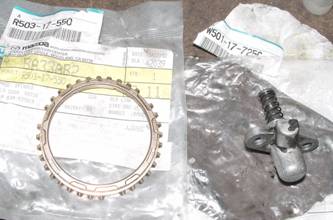
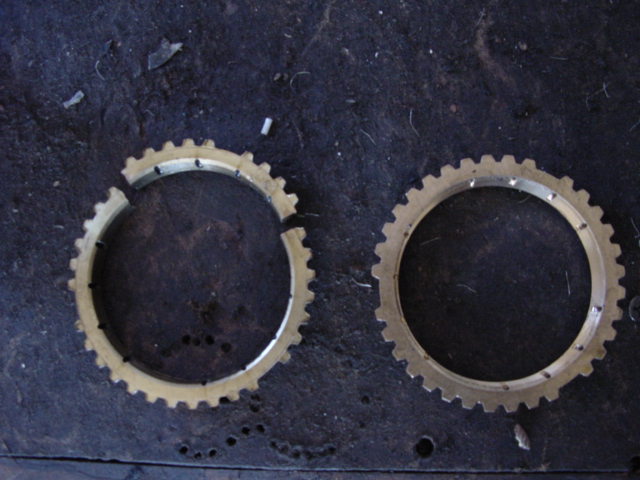
- Updated 5th gear Synchro.
- Shift select spindle.
- Gasket sealant (Permetex, Yamabond etc.)
- Transmission oil
- Transmission section of the shop manual as reference.
Here is what the two updated parts look like:
You also may need the following special tools:
- Medium size External and internal snap ring pliers
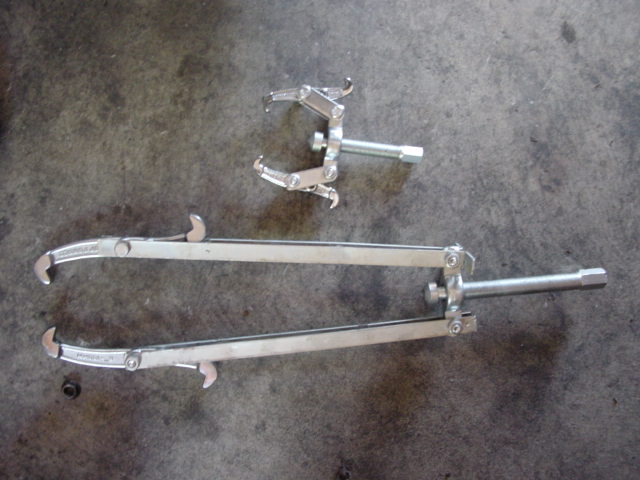
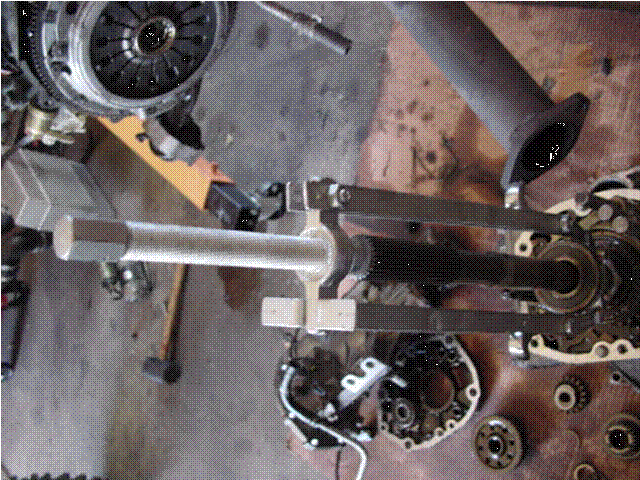
- Custom Bearing Pullers* or SST
- 100-150 ft.-lb Torque wrench
- Roll pin punch
*I will loan out my custom pullers needed. You will have to send me $20, the cost of the tools plus shipping and I will mail them out to you. Preferably Payal. After you are done, mail them back and when I receive them, I will refund the cost of the tools minus the shipping. Please borrow the tools when you are ready to use them and do not keep them for more than a week.
I think the shift select spindle makes a big difference. Highly recommended. Synchro and shift select spindle should be less than $100. Also, the updated synchro is a different color. New one is a bronze color while the old is more brass looking.
Okay ready?
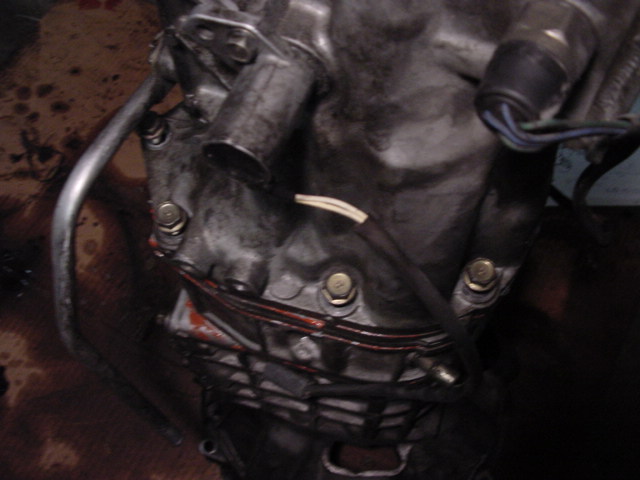
- Stand it upright on the bell housing.
- Make sure it is in neutral and remove the shifter.
- The shift select spindle can be installed on the extension housing at any time. They are held on by 2-10mm head bolts.
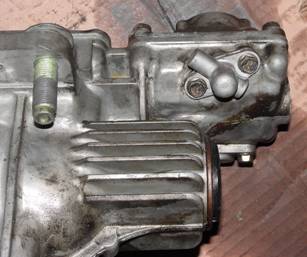
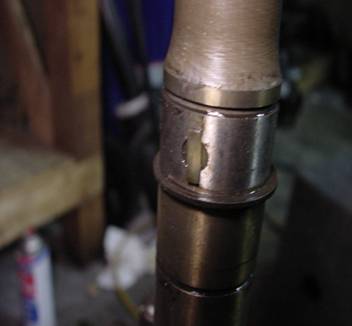
- Loosen the 14mm head bolts on the extension housing. Some will be tight due to the sealant on the threads.
- Rotate the extension housing and lift upwards. You may need to tap on it with a rubber mallet.
- Using a punch, remove the roll pins out of the shift. Note the orientation.
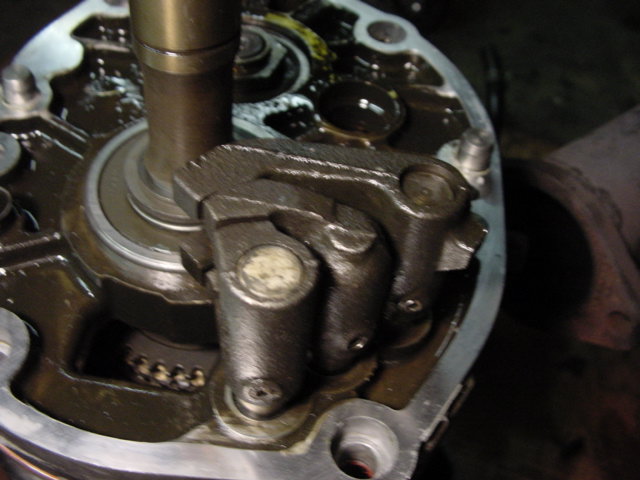
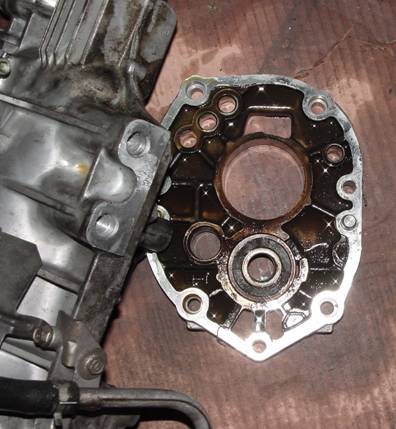
- Remove the speedometer gear. There will be 2 snap rings on either side. Also between the shaft and gear, is a “woodruff” key to prevent the gear from rotating independently from the shaft.
- Using
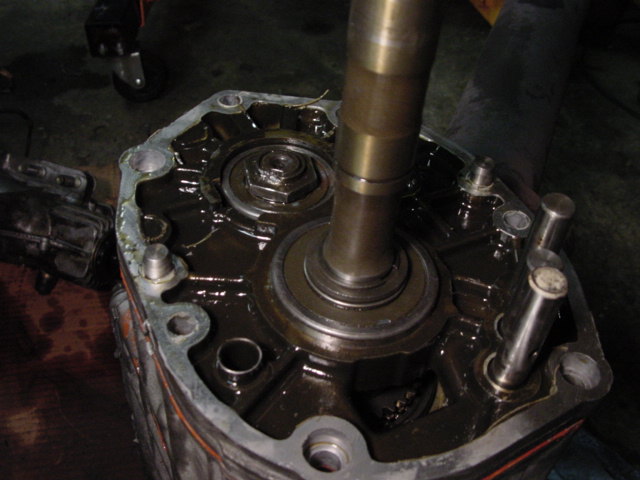
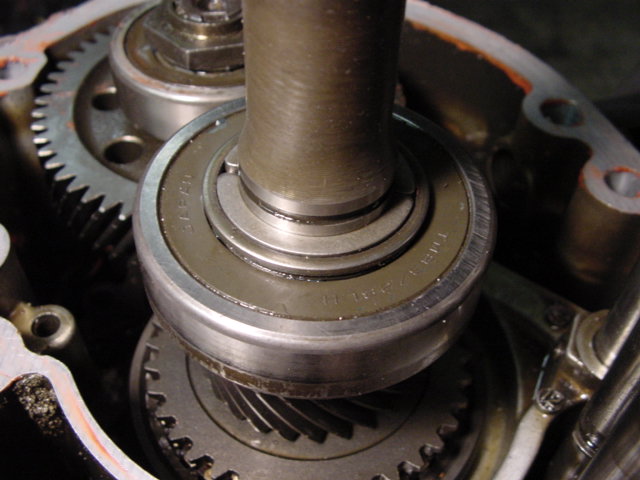
a mallet tap the bearing housing upwards and remove it.
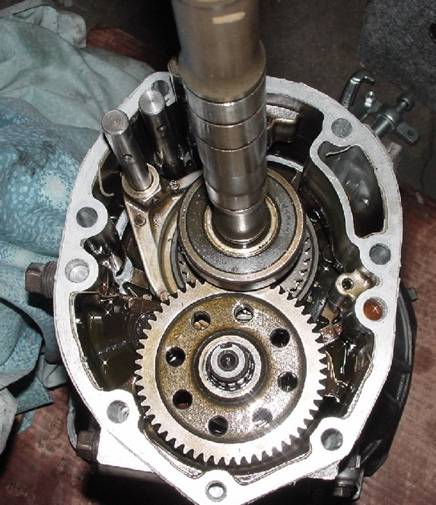
- The transmission should look similar without the bearing housing. Note: The rear main bearing rear C-washers, circlips and counter 5th gear bolt have been removed in this picture.
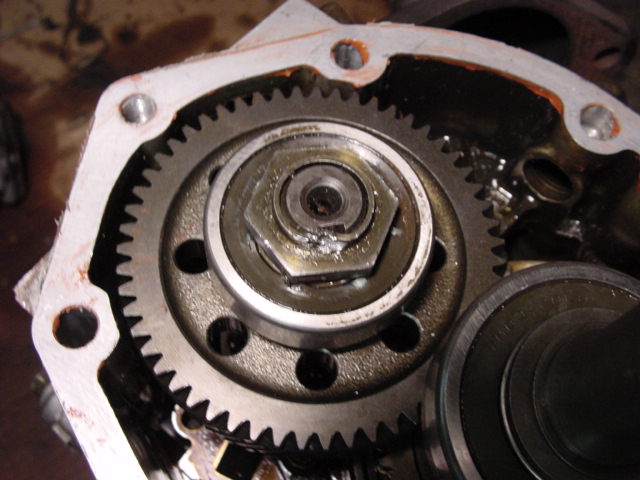
- Remove the snap ring, washer, and retaining ring holding the two C-washers together. Also Remove the two C-washers and mark them as the rear.
- Remove the rear main bearing using the long puller. Try to keep the puller parallel with the shaft when tightening.
- Remove the retaining washer holding the two c-washers. Also remove the two C-washers and mark them as the front.
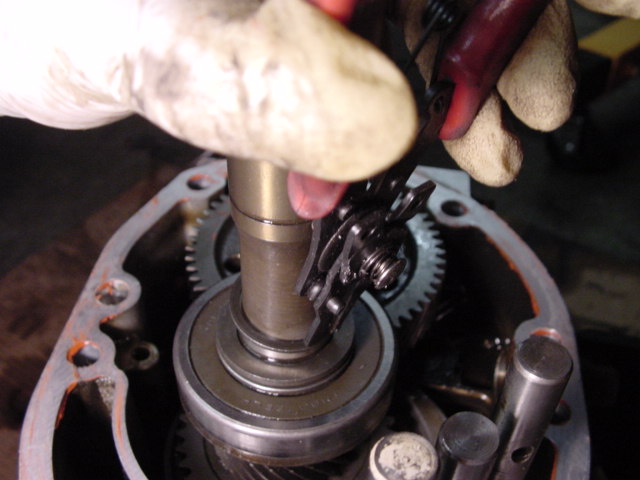
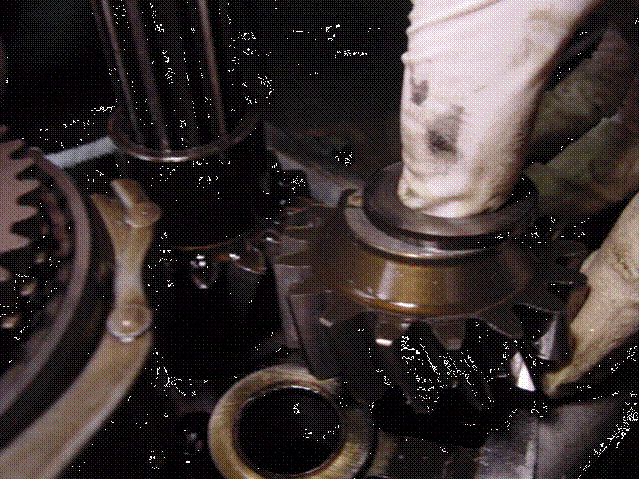
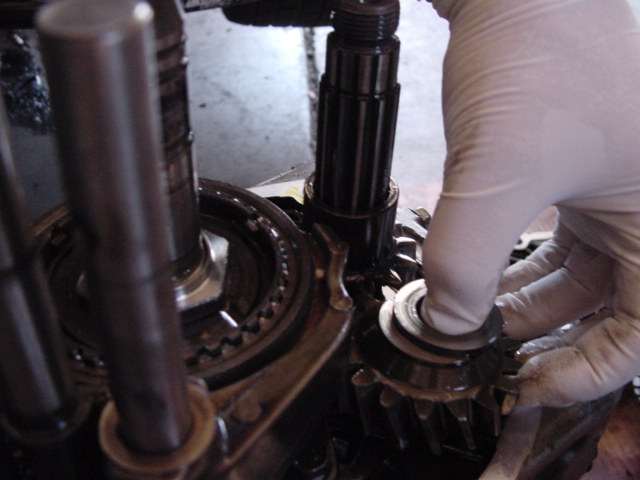
- Using a punch again, uncrimp the tab on bolt holding the 5th countergear. The bolt will rotate, so you will may need to keep it from rotating. I used an air impact wrench, which did not require me to hold the shaft. Remove the bolt.
- Using the small puller, remove the counter bearing.

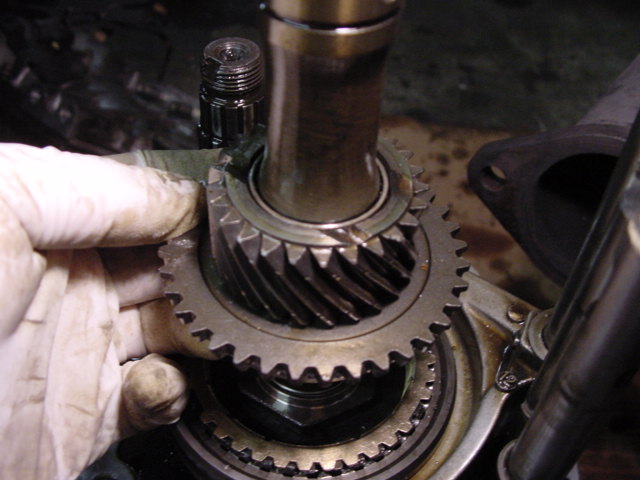
- Remove the counter 5th gear.

- Using a mallet tap the center housing upwards and remove it.
- Remove
the reverse idler gear and washer.
- Remove front C-washers and retaining ring. Do not confuse them with the other C-washers.
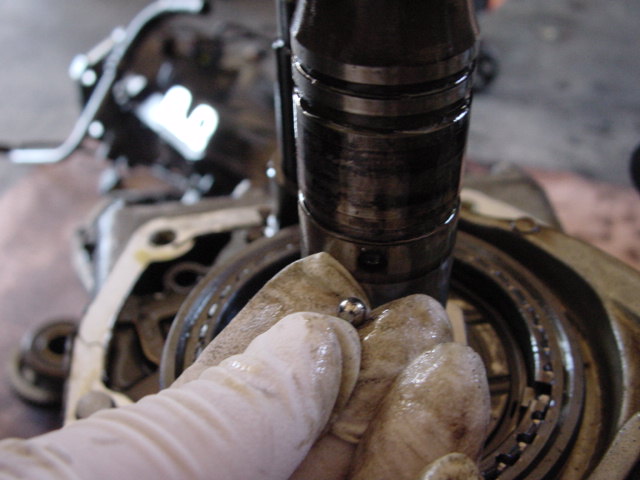
- Remove the thrust lock washer and steel ball. Do not loose the steel ball!
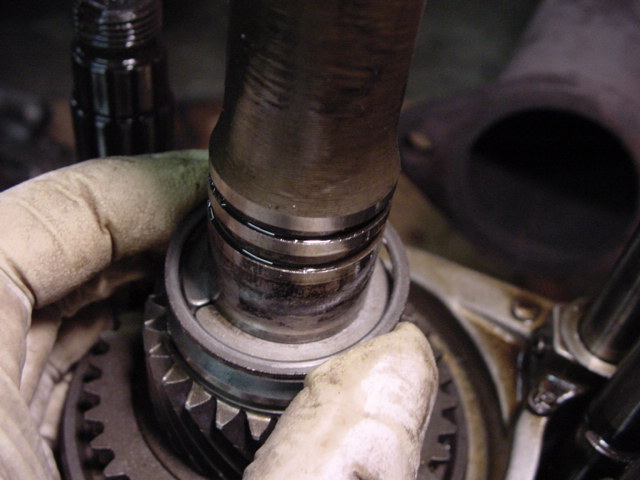
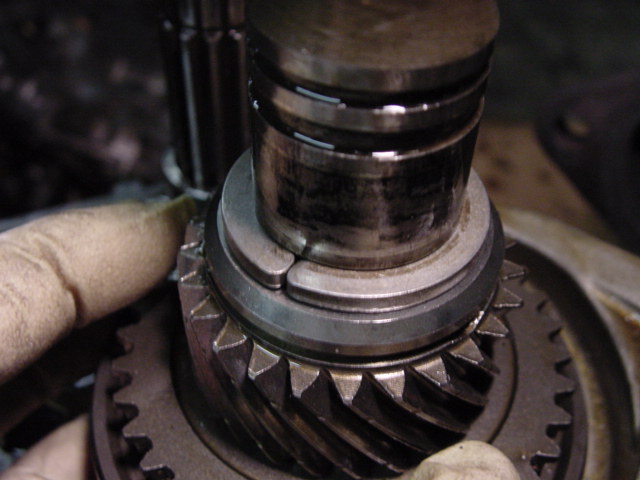
- Remove 5th gear and roller bearing.
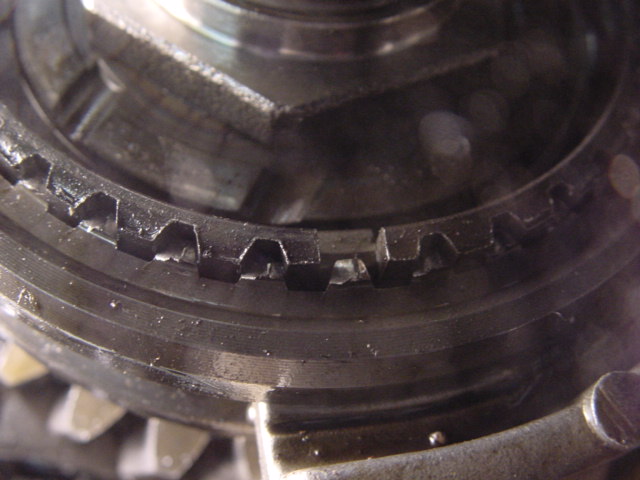
- The broken 5th gear synchro is now visible and can be removed.
- You may want to replace the 5th gear clutch hub if it looks worn like mine. The 5th gear clutch hub engages with the 5th gear synchro.
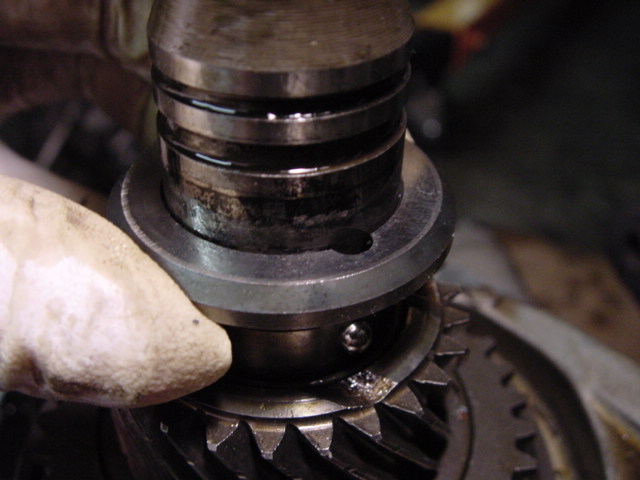
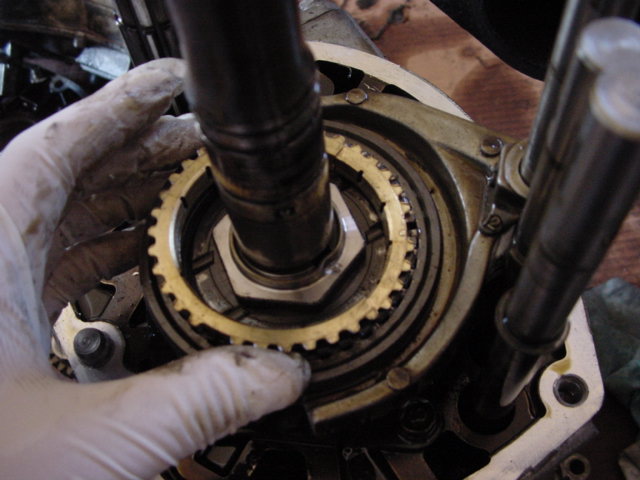
- Align and install 5th gear Synchro.
- Reassemble in reverse.
- Use a light coating of gasket sealant between the surfaces. Also make sure counter 5th gear is torque to the appropriate range.
Hopefully this removes some vagueness from the shop manual and you idea of the repair process. Good luck!